> ## Documentation Index
> Fetch the complete documentation index at: https://docs.pinata.cloud/llms.txt
> Use this file to discover all available pages before exploring further.
# Overview
> Deploy hosted OpenClaw agents through Pinata
Pinata Agents are hosted [OpenClaw](https://openclaw.org) instances - AI agents that can run code, search the web, manage files, and connect to external services. Each agent runs in its own isolated container with a persistent workspace.
Agents require a paid Pinata plan. [Upgrade here](https://app.pinata.cloud/billing).
## Get Your First Agent Running
This takes about 2 minutes. You'll connect an LLM provider, create an agent, and start chatting.
### 1. Add Your API Key
Your agent needs access to an LLM to think and respond. Head to [agents.pinata.cloud/secrets](https://agents.pinata.cloud/secrets) and you'll see cards for supported providers at the top.
Click **Connect** on whichever you use - Anthropic, OpenAI, OpenRouter, or Venice - paste your API key, and save. That's it.
Don't have an API key yet? [Anthropic](https://console.anthropic.com/), [OpenAI](https://platform.openai.com/), and [OpenRouter](https://openrouter.ai/) all offer free trial credits.
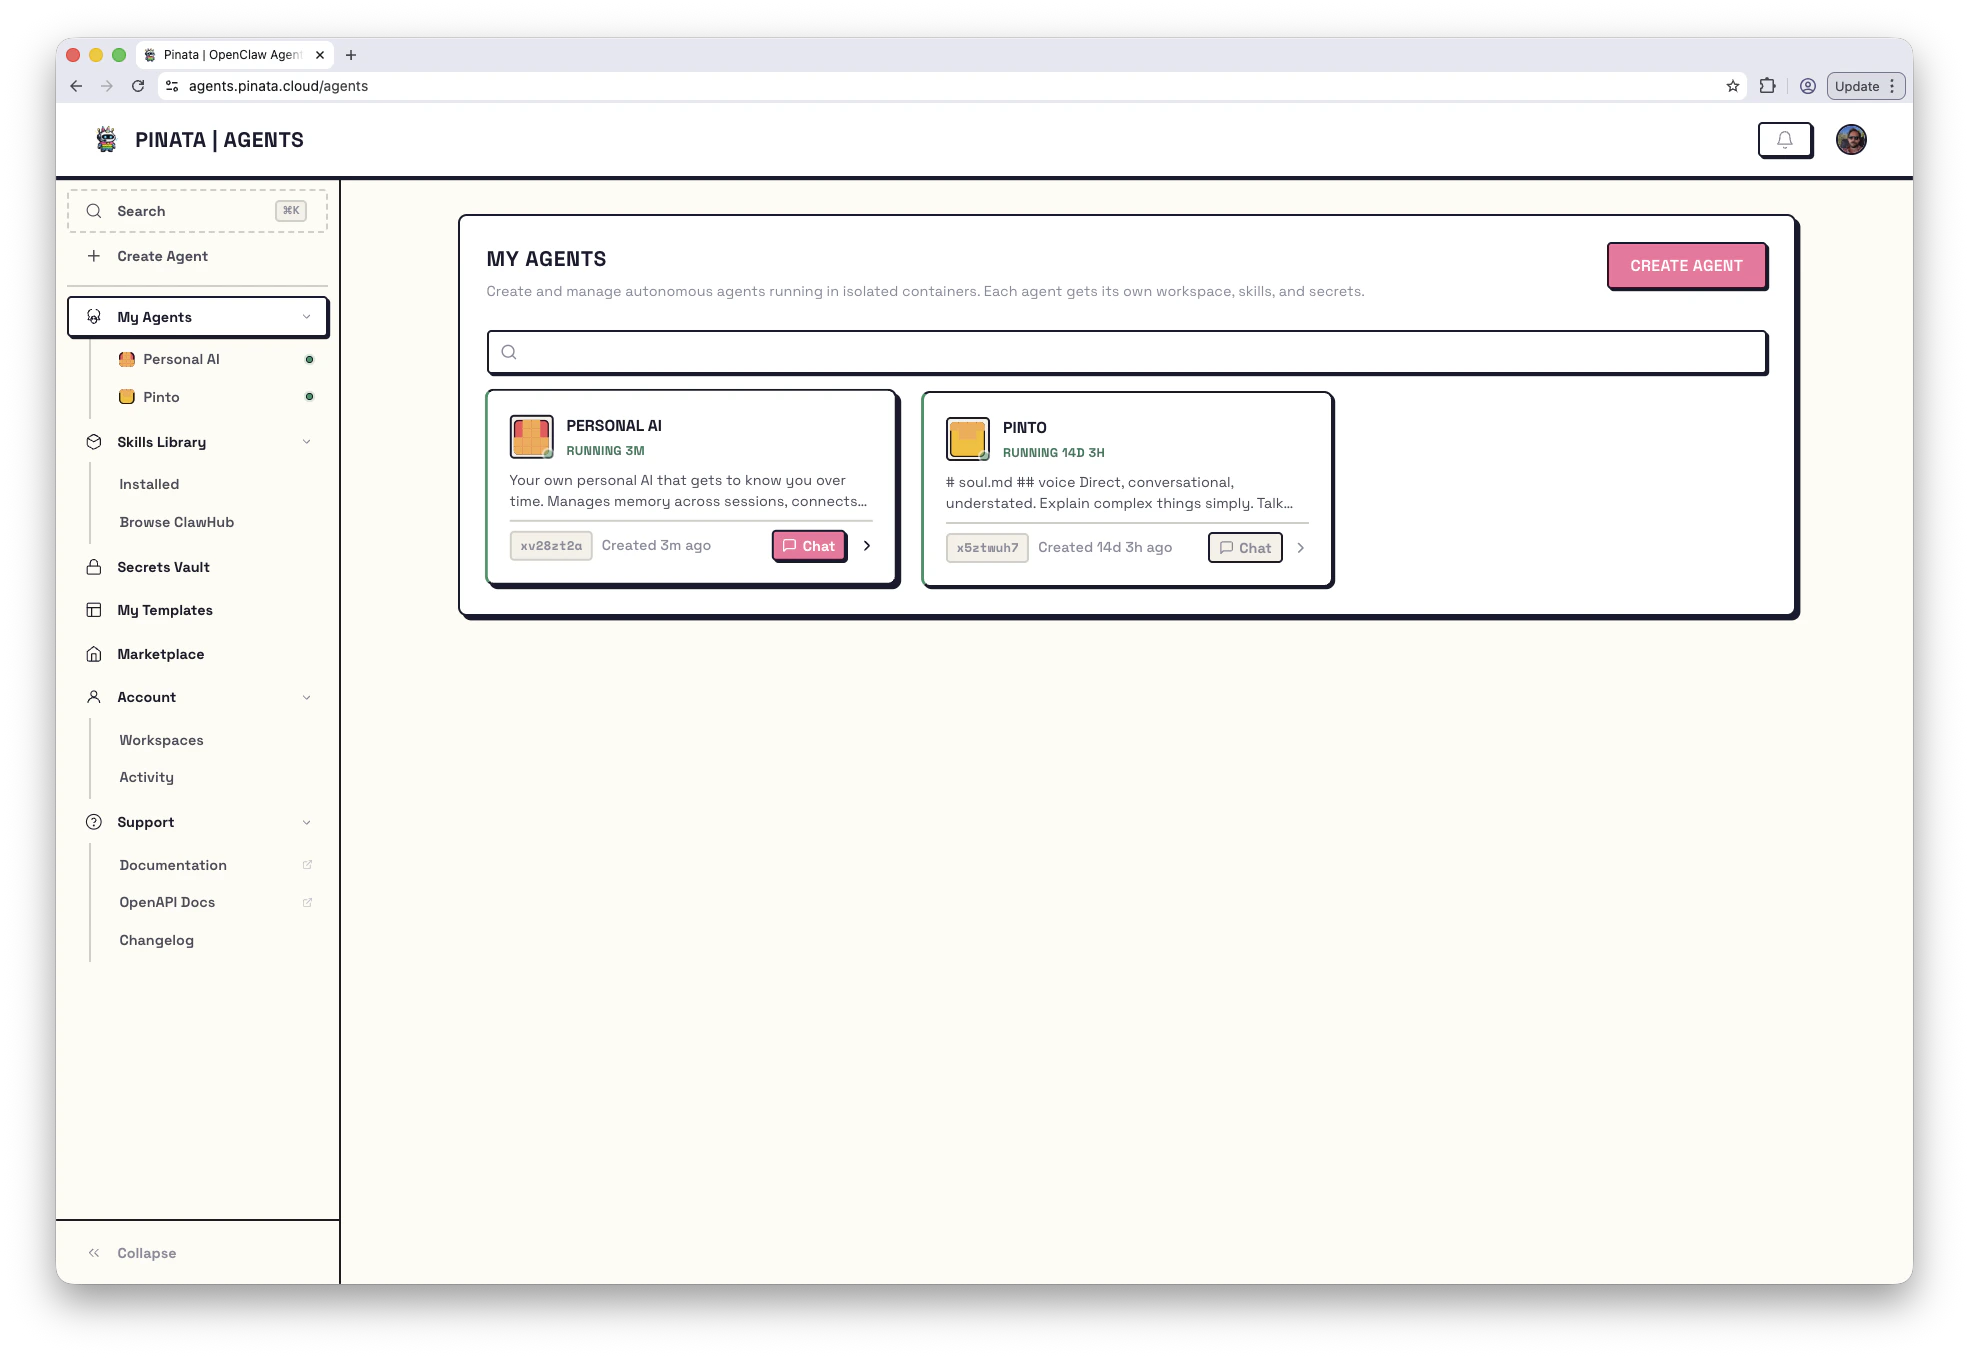
### 2. Create Your Agent
Go to [agents.pinata.cloud/agents](https://agents.pinata.cloud/agents) and click **Create Agent**.
You have two paths:
**Use a template** if you want something working fast. Templates come pre-configured with skills, settings, and personality - just add your secrets and deploy. Browse templates at [agents.pinata.cloud/templates](https://agents.pinata.cloud/templates).
**Build from scratch** if you want full control. The wizard walks you through:
1. **Identity** - Pick a personality (Atlas, Nova, Sage) or create your own. Give it a name.
2. **Workspace** - The default includes Node.js, Python, and common tools. Add [skills](/agents/skills) if you want extra capabilities.
3. **Connect** - Select your LLM provider and add any other API keys your agent needs.
4. **Deploy** - Hit the button and wait about 30 seconds.
### 3. Start Talking
Once your agent is running, you'll land on its chat interface. Say hello. Ask it to help you with something. It can write code, create files, search the web, and more.
 ## What's in the Agent Dashboard
Click any agent to open its detail page. Here's what you'll find:
**Chat** - Your conversation interface with a model switcher and live resource stats in the sidebar.
**Channels** - Connect your agent to Telegram, Slack, or Discord so others can talk to it too.
**Files** - Workspace snapshots, version history, and git access for local editing.
**Skills** - Packages that give your agent new abilities, like IPFS storage or on-chain registration.
**Secrets** - API keys and credentials your agent can access as environment variables.
**Models** - Configure which models your agent can use and set the default.
**Routes** - Expose web servers or APIs running inside your agent to the internet.
**Tasks** - Schedule prompts to run automatically.
### Dev Tools
When you need to debug or dig deeper:
* **[Console](/agents/console)** - Full terminal access to your agent's container
* **[Logs](/agents/logs)** - Real-time logs with level filtering, search, and export
* **[Danger](/agents/devtools)** - Agent details, workspace state, configuration, restart, and delete
Press **⌘K** (or **Ctrl+K**) anywhere to open the command palette for quick navigation to agents, pages, and actions.
### Working with Git
Want to edit your agent's workspace locally? Clone it:
```bash theme={null}
git clone https://agents.pinata.cloud/v0/agents/{agentId}/git my-agent
```
Click **Copy with Token** in the Files section to get the URL with authentication included.
## Using the CLI
Everything in the UI is also available through the [CLI](/tools/cli/agents):
```bash theme={null}
pinata agents list # See your agents
pinata agents create # Create a new agent
pinata agents get # Get agent details
```
## Next Steps
Deploy a pre-configured agent in one click
Let others talk to your agent on Telegram, Slack, or Discord
Give your agent new abilities
Expose a web app or API to the internet
## What's in the Agent Dashboard
Click any agent to open its detail page. Here's what you'll find:
**Chat** - Your conversation interface with a model switcher and live resource stats in the sidebar.
**Channels** - Connect your agent to Telegram, Slack, or Discord so others can talk to it too.
**Files** - Workspace snapshots, version history, and git access for local editing.
**Skills** - Packages that give your agent new abilities, like IPFS storage or on-chain registration.
**Secrets** - API keys and credentials your agent can access as environment variables.
**Models** - Configure which models your agent can use and set the default.
**Routes** - Expose web servers or APIs running inside your agent to the internet.
**Tasks** - Schedule prompts to run automatically.
### Dev Tools
When you need to debug or dig deeper:
* **[Console](/agents/console)** - Full terminal access to your agent's container
* **[Logs](/agents/logs)** - Real-time logs with level filtering, search, and export
* **[Danger](/agents/devtools)** - Agent details, workspace state, configuration, restart, and delete
Press **⌘K** (or **Ctrl+K**) anywhere to open the command palette for quick navigation to agents, pages, and actions.
### Working with Git
Want to edit your agent's workspace locally? Clone it:
```bash theme={null}
git clone https://agents.pinata.cloud/v0/agents/{agentId}/git my-agent
```
Click **Copy with Token** in the Files section to get the URL with authentication included.
## Using the CLI
Everything in the UI is also available through the [CLI](/tools/cli/agents):
```bash theme={null}
pinata agents list # See your agents
pinata agents create # Create a new agent
pinata agents get # Get agent details
```
## Next Steps
Deploy a pre-configured agent in one click
Let others talk to your agent on Telegram, Slack, or Discord
Give your agent new abilities
Expose a web app or API to the internet