> ## Documentation Index
> Fetch the complete documentation index at: https://docs.pinata.cloud/llms.txt
> Use this file to discover all available pages before exploring further.
# CLI Overview
> The official CLI for Pinata written in Go
The Pinata CLI is a tool you can use alongside your account to upload and manage files through your terminal. It also provides access to Pinata's [Agents platform (beta)](/tools/cli/agents), allowing you to create, manage, and interact with hosted agents directly from the command line. The source code can be found in the link below.
## Installation
If you are on Windows please use WSL when installing. If you get an error that it was not able to resolve the github host run `git config --global --unset http.proxy`
### Install Script
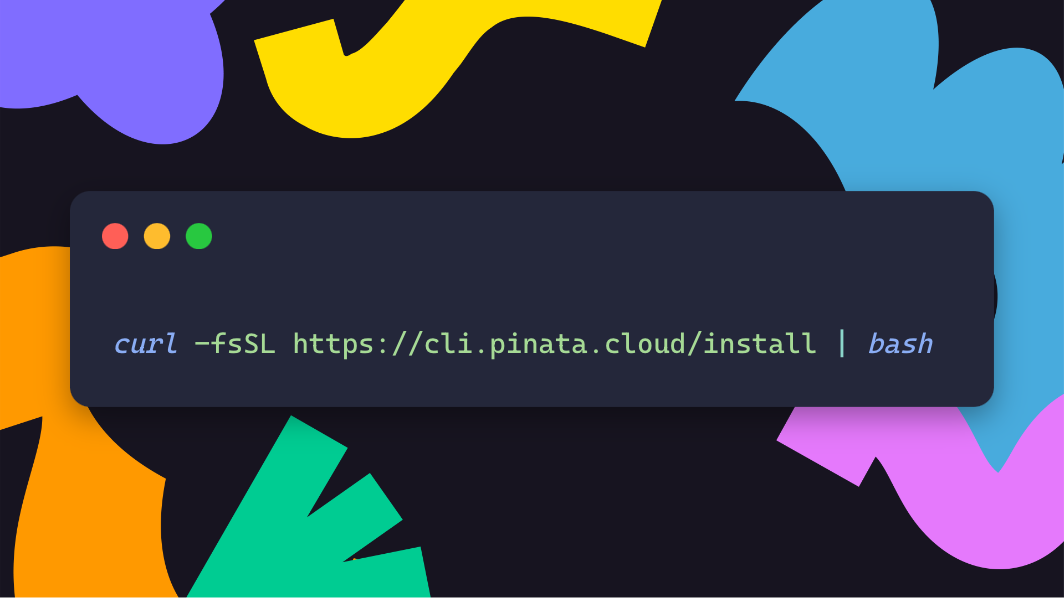
The easiest way to install is to copy and paste this script into your terminal
```bash theme={null}
curl -fsSL https://cli.pinata.cloud/install | bash
```
### Homebrew
If you are on MacOS and have homebrew installed you can run the command below to install the CLI
```
brew install PinataCloud/ipfs-cli/ipfs-cli
```
### Building from Source
To build and install from source make sure you have [Go](https://go.dev/) installed on your computer and the following command returns a version:
```
go version
```
Then paste and run the following into your terminal:
```
git clone https://github.com/PinataCloud/ipfs-cli && cd ipfs-cli && go install .
```
### Linux Binary
As versions are released you can visit the [Releases](https://github.com/PinataCloud/ipfs-cli/releases) page and download the appropriate binary for your system, them move it into your bin folder.
For example, this is how I install the CLI for my Raspberry Pi
```
wget https://github.com/PinataCloud/ipfs-cli/releases/download/v0.1.0/ipfs-cli_Linux_arm64.tar.gz
tar -xzf ipfs-cli_Linux_arm64.tar.gz
sudo mv pinata /usr/bin
```
## Authentication
With the CLI installed you will first need to authenticate it with your [Pinata JWT](https://docs.pinata.cloud/account-management/api-keys). Run this command and follow the steps to setup the CLI!
```
pinata auth
```
## Configuration
Set a default IPFS network, can be either `public` or `private`. You can always change this at any time or override in individual commands. If none is set the default is `public`.
```
NAME:
pinata config - Configure Pinata CLI settings
USAGE:
pinata config [command [command options]]
COMMANDS:
network, net Set default network (public or private)
OPTIONS:
--help, -h show help
```
## Next Steps
Upload files, manage groups, gateways, keys, and swaps
Manage your Pinata Agents from the terminal (beta)
## Contact
If you have any questions please feel free to reach out to us!
[team@pinata.cloud](mailto:team@pinata.cloud)