This guide will walk you through setting up Pinata in a Next.js app.
Create an API Key and get Gateway URL
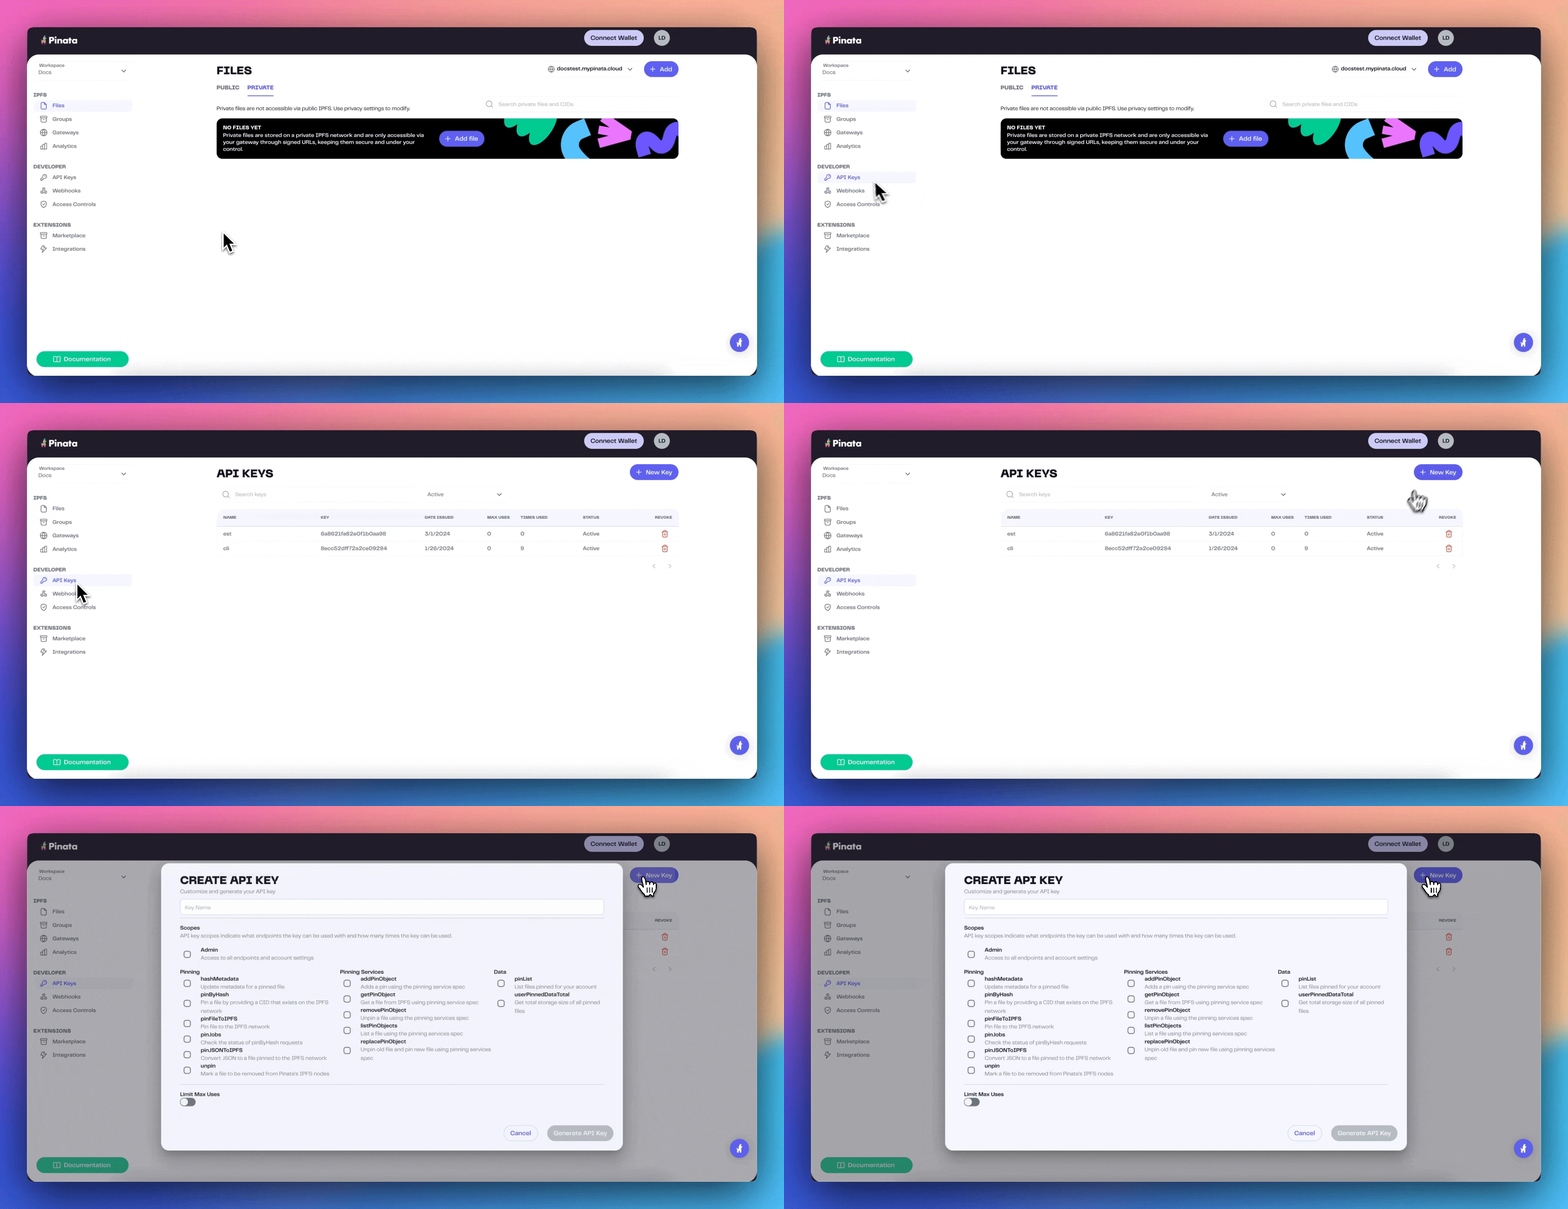
To create an API key, visit the Keys Page and click the “New Key” button in the top right. Once you do that you can select if you want your key to be admin or if you want to scope the privileges of the keys to certain endpoints or limit the number of uses. Make those selections, then give the key a name at the bottom, and click create key.
If you are just getting started we recommend using Admin privileges, then move
to scope keys as you better understand your needs
 Once you have created the keys you will be shown your API Key Info. This will contain your Api Key, API Secret, and your JWT. Click “Copy All” and save them somewhere safe!
The API keys are only shown once, be sure to copy them somewhere safe!
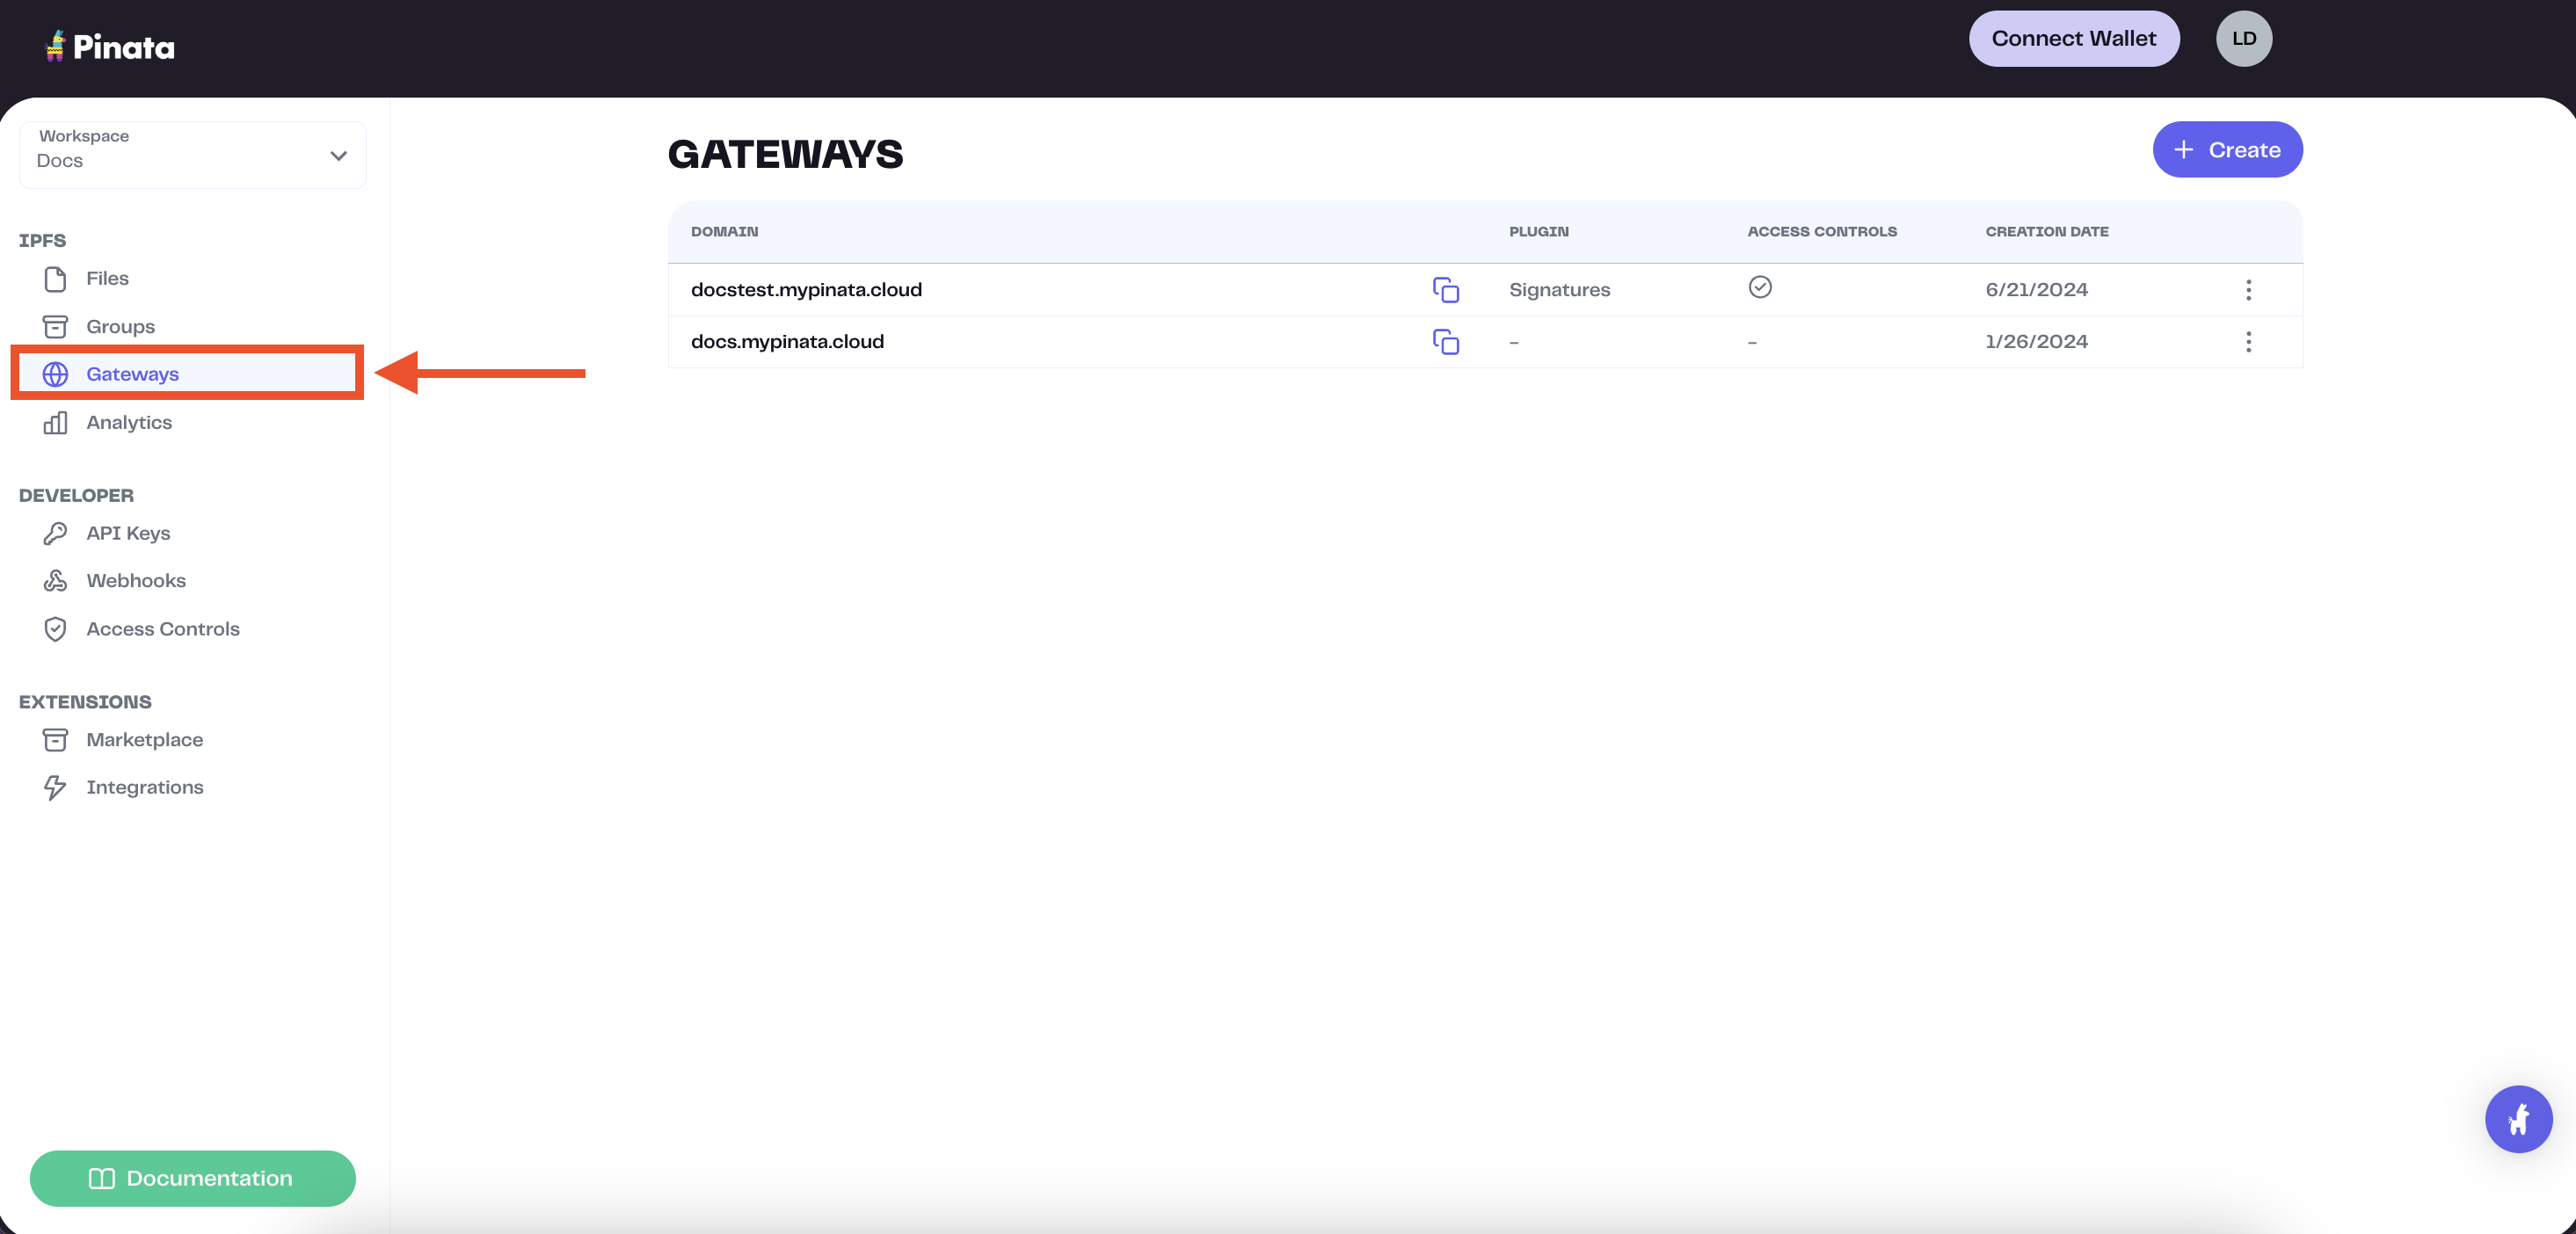
 The gateway domains are randomly generated and might look something like this:
aquamarine-casual-tarantula-177.mypinata.cloud
Server-Side Setup
Next.js has a limit of how large a file can be passed through the built in API routes, if you need to enable larger uploads follow the client side setup guide
Start up Next.js Project
As with any Next.js project we can start one up with the following command
npx create-next-app@latest
cd into the repo and install pinata
After making the project, create a .env.local file in the root of the project and put in the following variables:
PINATA_JWT=
NEXT_PUBLIC_GATEWAY_URL=
JWT from the API key creation in the previous step as well as the Gateway Domain. The format of the Gateway domain should be mydomain.mypinata.cloud.
Setup Pinata
Create a directory called utils in the root of the project and then make a file called config.ts inside of it. In that file we’ll export an instance of the Files SDK that we can use throughout the rest of the app.
"server only"

import { PinataSDK } from "pinata"

export const pinata = new PinataSDK({
  pinataJwt: `${process.env.PINATA_JWT}`,
  pinataGateway: `${process.env.NEXT_PUBLIC_GATEWAY_URL}`
})
/app/page.tsx file take out the boiler plate code and use the following.
"use client";

import { useState } from "react";

export default function Home() {
  const [file, setFile] = useState<File>();
  const [url, setUrl] = useState("");
  const [uploading, setUploading] = useState(false);

  const uploadFile = async () => {
    try {
      if (!file) {
        alert("No file selected");
        return;
      }

      setUploading(true);
      const data = new FormData();
      data.set("file", file);
      const uploadRequest = await fetch("/api/files", {
        method: "POST",
        body: data,
      });
      const signedUrl = await uploadRequest.json();
      setUrl(signedUrl);
      setUploading(false);
    } catch (e) {
      console.log(e);
      setUploading(false);
      alert("Trouble uploading file");
    }
  };

  const handleChange = (e: React.ChangeEvent<HTMLInputElement>) => {
    setFile(e.target?.files?.[0]);
  };

  return (
    <main className="w-full min-h-screen m-auto flex flex-col justify-center items-center">
      <input type="file" onChange={handleChange} />
      <button type="button" disabled={uploading} onClick={uploadFile} >
        {uploading ? "Uploading..." : "Upload"}
      </button>
    </main>
  );
}
Next.js does have a file size limitation for what can be passed through the
API routes, so if you need more than the limit then it is advised to make
signed JWTs by following this
guide. Create API Route
Next.js is ideal for file uploads as it’s API routes keep keys hidden and unexposed to the client. In the last step we made a function that uploads to /api/files so now we need to create that route by making /app/api/files/route.ts in our app.
Once you have created that file you can paste in the following code.
import { NextResponse, type NextRequest } from "next/server";
import { pinata } from "@/utils/config"

export async function POST(request: NextRequest) {
  try {
    const data = await request.formData();
    const file: File | null = data.get("file") as unknown as File;
    const { cid } = await pinata.upload.public.file(file)
    const url = await pinata.gateways.public.convert(cid);
    return NextResponse.json(url, { status: 200 });
  } catch (e) {
    console.log(e);
    return NextResponse.json(
      { error: "Internal Server Error" },
      { status: 500 }
    );
  }
}
POST request from the client, then send an API request to Pinata with the upload, then make one more request to get a signed URL we can use to see the content. Once complete it will return the URL to the client.
With our URL we can render the image we uploaded by adding the following code to the page.tsx file.
    return (
		<main className="w-full min-h-screen m-auto flex flex-col justify-center items-center">
			<input type="file" onChange={handleChange} />
			<button type="button" disabled={uploading} onClick={uploadFile}>
				{uploading ? "Uploading..." : "Upload"}
			</button>
			{/* Add a conditional looking for the signed url and use it as the source */}
			{url && <img src={url} alt="Image from Pinata" />}
		</main>
	);
Client-Side Setup
Next.js has a file size limit as to what can be pass through API routes, so another workaround is to upload the file on the client side. To do this securely you can make an API route that generates a temporary upload URL that is used in the upload request.
Start up Next.js Project
As with any Next.js project we can start one up with the following command
npx create-next-app@latest
cd into the repo and install pinata
After making the project, create a .env.local file in the root of the project and put in the following variables:
PINATA_JWT=
NEXT_PUBLIC_GATEWAY_URL=
JWT from the API key creation in the previous step as well as the Gateway Domain. The format of the Gateway domain should be mydomain.mypinata.cloud.
Setup Pinata
Create a directory called utils in the root of the project and then make a file called config.ts inside of it. In that file we’ll export an instance of the Files SDK that we can use throughout the rest of the app.
"server only"

import { PinataSDK } from "pinata"

export const pinata = new PinataSDK({
  pinataJwt: `${process.env.PINATA_JWT}`,
  pinataGateway: `${process.env.NEXT_PUBLIC_GATEWAY_URL}`
})
Create API Route
In order to upload on the client side we need to upload it securely without leaking our admin API key. To avoid this we’ll make an API route in our Next project under app/api/url/route.ts.
Once you have created that file you can paste in the following code.
import { NextResponse } from "next/server";
import { pinata } from "@/utils/config"

export const dynamic = "force-dynamic";

export async function GET() {
  // If you're going to use auth you'll want to verify here
  try {
    const url = await pinata.upload.public.createSignedURL({
      expires: 30, // The only required param
    })
    return NextResponse.json({ url: url }, { status: 200 }); // Returns the signed upload URL
  } catch (error) {
    console.log(error);
    return NextResponse.json({ text: "Error creating API Key:" }, { status: 500 });
  }
}
GET request to /api/url it will return a temporary signed upload URL that is only valid for 30 seconds, which we can use on the client to make the upload request.
Next we’ll want to make an upload form on the client side that will allow someone to select a file and upload it with the signed upload URL
In the /app/page.tsx file take out the boiler plate code and use the following.
"use client";

import { useState } from "react";
import { pinata } from "@/utils/config";

export default function Home() {
  const [file, setFile] = useState<File>();
  const [uploading, setUploading] = useState(false);

  const uploadFile = async () => {
    if (!file) {
      alert("No file selected");
      return;
    }

    try {
      setUploading(true);
      const urlRequest = await fetch("/api/url"); // Fetches the temporary upload URL
      const urlResponse = await urlRequest.json(); // Parse response
      const upload = await pinata.upload.public
        .file(file)
        .url(urlResponse.url); // Upload the file with the signed URL
      console.log(upload);
      setUploading(false);
    } catch (e) {
      console.log(e);
      setUploading(false);
      alert("Trouble uploading file");
    }
  };

  const handleChange = (e: React.ChangeEvent<HTMLInputElement>) => {
    setFile(e.target?.files?.[0]);
  };

  return (
    <main className="w-full min-h-screen m-auto flex flex-col justify-center items-center">
      <input type="file" onChange={handleChange} />
      <button type="button" disabled={uploading} onClick={uploadFile}>
        {uploading ? "Uploading..." : "Upload"}
      </button>
    </main>
  );
}
url() method in combination with our upload methods which passes in the signed upload url instead of trying to access the admin key. We can take the response and create a URL to access the file.
"use client";

import { useState } from "react";
import { pinata } from "@/utils/config";

export default function Home() {
	const [file, setFile] = useState<File>();
	const [url, setUrl] = useState("");
	const [uploading, setUploading] = useState(false);

	const uploadFile = async () => {
		if (!file) {
			alert("No file selected");
			return;
		}

		try {
			setUploading(true);
			const urlRequest = await fetch("/api/url"); // Fetches the temporary upload URL
      const urlResponse = await urlRequest.json(); // Parse response
      const upload = await pinata.upload.public
        .file(file)
        .url(urlResponse.url); // Upload the file with the signed URL
      const fileUrl = await pinata.gateways.public.convert(upload.cid)
			setUrl(fileUrl);
			setUploading(false);
		} catch (e) {
			console.log(e);
			setUploading(false);
			alert("Trouble uploading file");
		}
	};

	const handleChange = (e: React.ChangeEvent<HTMLInputElement>) => {
		setFile(e.target?.files?.[0]);
	};

	return (
		<main className="w-full min-h-screen m-auto flex flex-col justify-center items-center">
			<input type="file" onChange={handleChange} />
			<button type="button" disabled={uploading} onClick={uploadFile}>
				{uploading ? "Uploading..." : "Upload"}
			</button>
			{url && <img src={url} alt="Image from Pinata" />}
		</main>
	);
}